A day of progress it seems - day away from the daily grind to sort some bits out has meant some time to dedicate to the work-in-progress...
To business - I'd got the hood lining finished and the pattern for the shell cut. Time for some assembly methinks!


First off, the sub-assemblies; these were put together in the same manner as the lining - the two centre pieces with the added detail pieces for the tip (which weren't part of the simpler lining), plus the side panels with the additional detail panel to help give some structure to the top when assembled. These were then sewn together and tested with the lining/interfacing:


Which seemed to work out well. Turning my attention to the back, I sewed the two centre back pieces together, plus the additional dart details:
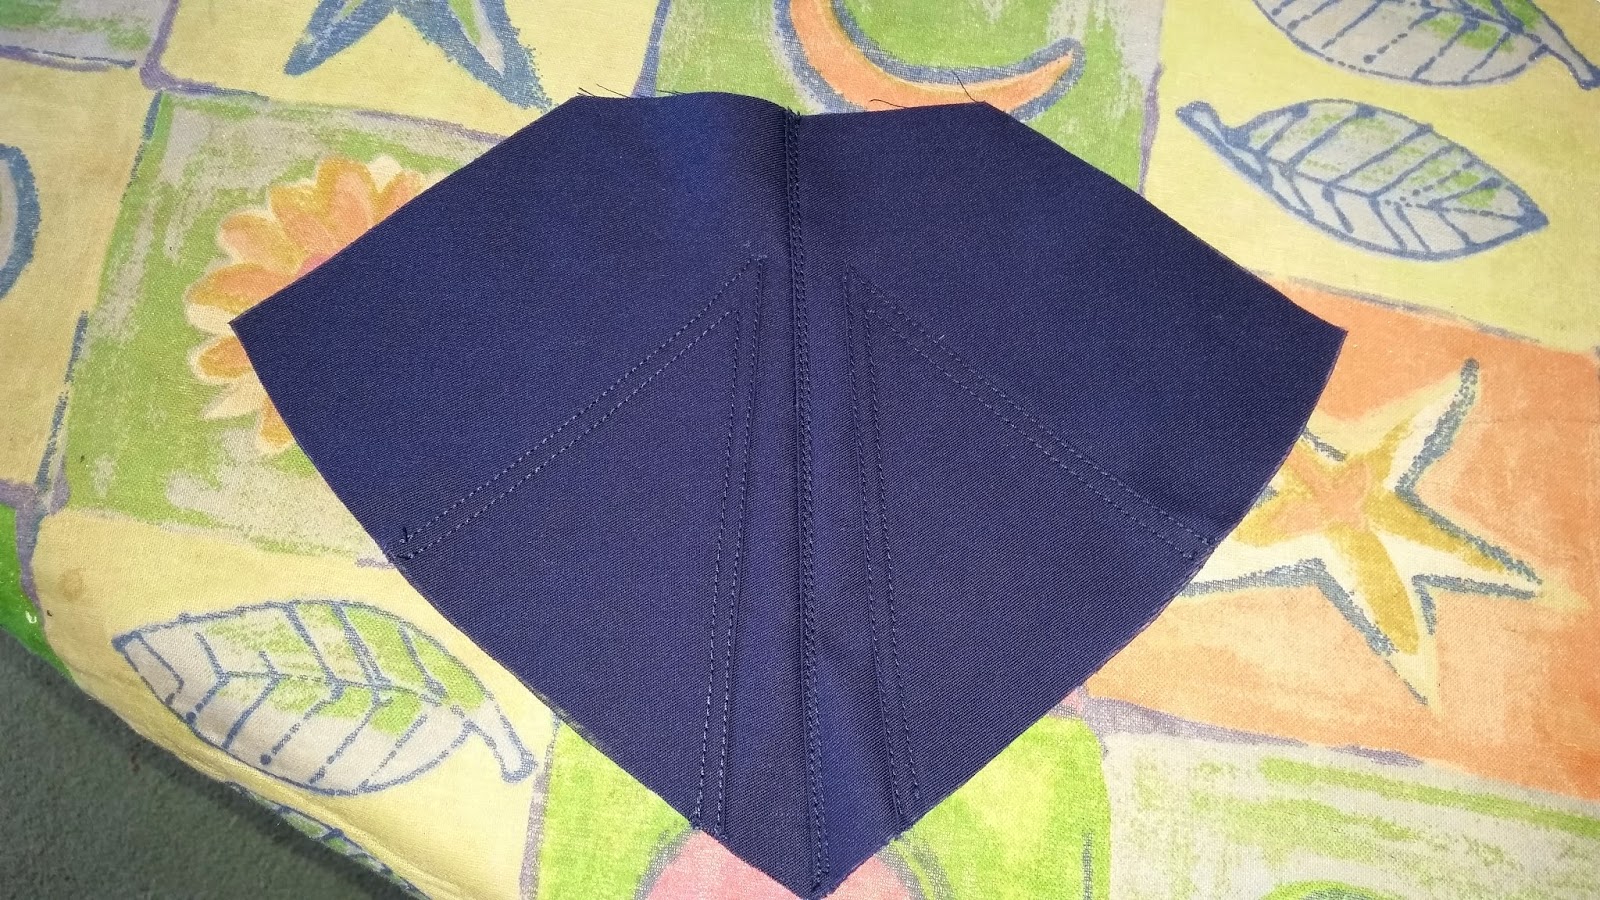
You'll notice the darts are double-stitched to add rigidity and detail, as were all of the other seams around the hood. In designing the pattern I'd kept the seam placement to where the hood would naturally need to "fold" around the head so by over-stitching hoped to give it some real shape.
So, centre back attached, shoulders pieces added:


The right-hand picture is actually following the sewing together of the lining and shell. The edges are left raw as I'd decided to bias-bind the edges to add a cleaner line to the edges and allow a few more lines of stitching.
A trip to Hobbycraft later and I had some bias tape, new sewing machine needles and other bits I needed. After measuring up and some ironing, more sewing and double sewn edges, we had this:


And onto the other side, by which time it was dark, so the flash on my phone started giving some funny effects to the colour of the fabric. The photos above show the true colour.


And that's where we have to end for tonight - I have shirts to iron. Needless to say, I'm pretty happy with how everything's going. At this point I need to finish off the bias binding for the rest of the hood, add button holes and other details (more on these to come) to finish it off. The extra seam lines have really added some support to the hood, meaning that in the last photos the top of the hood is barely in contact with the Jelly Bean/head stand-in.
Another update soon, hopefully with some final shots of the hood at work!
Until next time.
No comments:
Post a Comment